

Legend Of Zelda Skyward Sword Hd Walkthrough
This affiliate covers the normal mode of the HD version of Twilight Princess for the Nintendo Wii U. If you are playing on the Nintendo Wii, check out the Hyrule Castle – Wii Version.
- Chapter one – Ordon Village
- Chapter 2 – The Twilight
- Chapter three – Faron Woods: Twilight
- Affiliate iv – Woods Temple
- Chapter five – Kakariko Village: Twilight
- Chapter 6 – Death Mountain
- Chapter 7 – Goron Mines
- Chapter 8 – Lanayru Province: Twilight
- Chapter 9 – Lake Hylia: Sidequests
- Affiliate x – Lakebed Temple
- Chapter eleven – The Master Sword
- Affiliate 12 – Gerudo Desert
- Affiliate 13 – Arbiter'south Grounds
- Chapter 14 – Scaling Snowpeak
- Affiliate 15 – Snowpeak Ruins
- Affiliate sixteen – Sacred Grove: Round Two
- Chapter 17 – Temple of Time
- Chapter 18 – In Search of the Sky
- Chapter nineteen – Urban center in the Sky
- Chapter xx – Palace of Twilight
- Chapter 21 – Cave of Ordeals
- Chapter 22 – Hyrule Castle
- 22.1 – The West Courtyard
- 22.2 – The Eastward Courtyard; Dungeon Map
- 22.3 – The Graveyard
- 22.four – Hyrule Castle: Entrance
- 22.5 – Hyrule Castle: West Path
- 22.half dozen – Hyrule Castle: Due east Path
- 22.7 – Hyrule Castle Belfry
- 22.8 – The Last Showdown
22.1 The West Courtyard
The concluding phase of the game is Hyrule Castle and it begins in the outside courtyard. Walk northwest along the stone pathway and a barrier will appear. Defeat the numerous bokoblins that appear equally well equally any kargaroks that fly downwardly from the sky. Once they have all been defeated, open the door to the northwest.


Run frontwards and a short cutting-scene plays. Another barrier is formed and a seemingly endless amount of bokoblins come up dashing your style. Defeat them all, using the spin attack when they are all bunched together. Once they have all been defeated, the barrier volition go away.


Continue following the stone walkway and you will come upon another locked door. To the left of the door you will detect a chain. Grab onto it and pull information technology back to raise the door. Caput within and walk over to the middle of the platform in this expanse. King Bubllin volition drop from above, ready to fight once again.


This battle is identical to the boxing in the bulblin base. He tin can easily be stunned with a sword slash. The dorsum slice and the helm splitter work wonders confronting him as well. Just proceed nailing him with attacks and he won't even go a chance to swing at you.
King Bulblin is finally fed up with being defeated and easily Link a sparkling small key. King Bulblin will say that he follows the strongest and that'southward all he'due south ever known. King Bulblin then proceeds to ride away. Midna is very surprised that King Bulblin is actually capable of talking.


Run to the northward end of the area and open up the treasure breast to get a red rupee. Return back to the southern portion of the courtyard where you lot first entered from Castle Town.

22.2 The East Courtyard; Dungeon Map
Walk to the northeast area forth the rock pathway and a 4th barrier appears. Defeat the bokoblins as usual and then open the door to get to the due east office of the courtyard.


There are a ton of bokoblins that will come up charging towards Link. There are besides plenty of bulblin archers that volition shoot at Link. Defeat the bokoblins and so utilize the arrows to defeat the bulblins archers. Walk along the path to the eastward side of the courtyard and you'll eventually reach two bulbos that are to the w. Jump on pinnacle of 1 of the bulbos and all you need to do is ride correct into the fences and the bulbo will crash them down. Ride to the northeast portion of the map and go right through the towers and the bulblin archers volition crash to the floor.


At the due north end of the courtyard at that place are several spinner panels on elevation of the pillars. Walk to the gate at the west end of the courtyard and you'll run into some leaves on the ground. Use the gale boomerang to get rid of the leaves and it will show the right pattern on the floor.


If you await at the basis it is in the shape of a triforce. The six intersection points represent the six pillars with spinners. Use the gale boomerang to hitting the spinners in the exact social club that they appear on the map. Doing and then volition open the gate.


Run past the open up gate and yous'll see a treasure chest; open it to get the Dungeon Map. Turn to the left and yous'll see a alpine ladder. Climb up the ladder to reach what is the second flooring of the courtyard. Follow the path southward and you'll eventually come to a small treasure chest. Open it to get the Sorry Zelda Postage stamp! Drib down and return to the south part of the courtyard.
22.iii The Graveyard
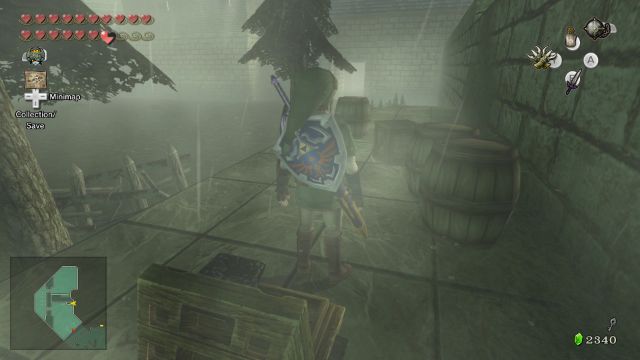
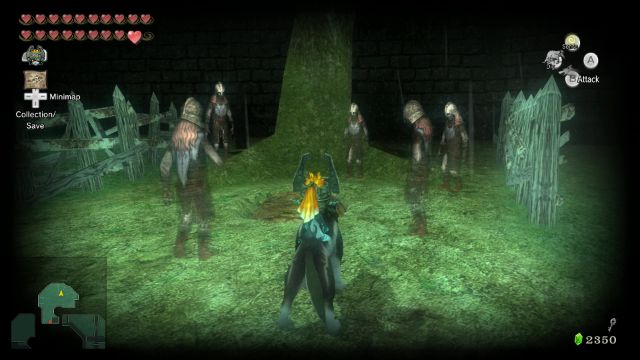
Walk out of the room, and alter to wolf link. Walk virtually the left side wall and use your senses to find a patch where you can dig underneath the wall. On the other side, you lot'll see a short movie house of the surface area. Walk over to the western part of the area and yous'll exist confronted past stalkin, defeat them with ease. Past the gate, you'll be observe a Stalfos, defeat him too. Walk past the northern wall, y'all'll meet a very tall tree, use your senses to see soldiers pointing at the ground.

Transform dorsum into human class, and use a bomb on the rocks to find a switch. Pace on it and the gate nearby will open. Walk over to the open room, defeat the Stalfos forth the way, and open the large chest to get an orange rupee, and the ii small ones to become 21 more rupees.


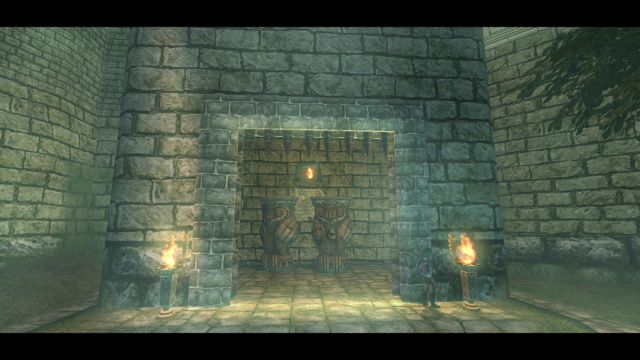
Light the torch shut past, and the rain outside will cease momentarily. Rapidly run over to the due west side gate and light the two torches there to open up the gate. Take out the Dominion Rod and move i of the statues over to the southern wall where we entered the surface area. You lot'll notice two indentations in the basis, place ane of the statues in one, and then repeat the process with the other statues. Climb up the steps on the right side wall, and employ the statues to brand it across to the other side.


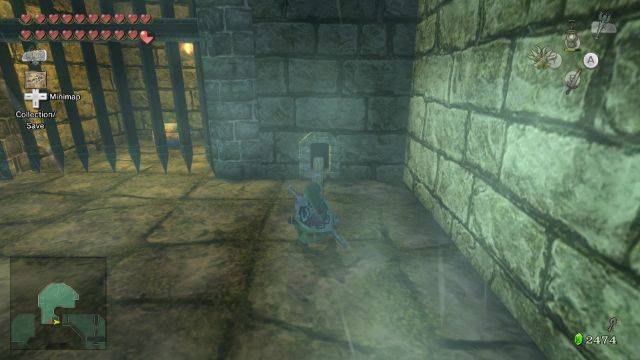
Pull the chain at the top to open the gate. Open the breast inside to receive a small key. Now we have everything we need to progress inside the castle, and then dig back out the way we came in. Inside the room where the Dungeon Map was, climb upwardly the ladder for a shortcut dorsum to the other side of the area. Ignore the Bokoblins and Bulbin Archers, and use the door to become dorsum out.
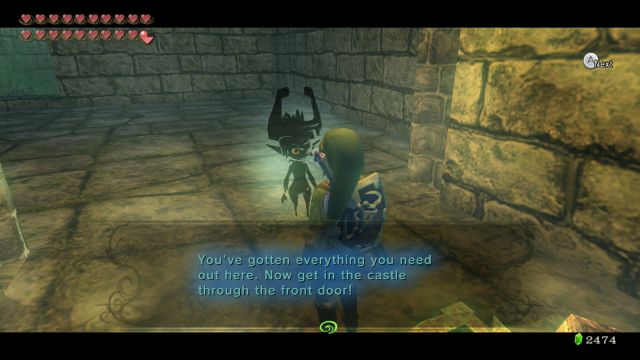
Walk all the way over to the middle of the area, and upwardly to the front entrance to Hyrule Castle. If y'all demand to get any potions or items, now is the fourth dimension to practise then. Otherwise, enter the castle.
22.iv Hyrule Castle: Entrance
Run to the front door of the castle and using the small key you got earlier to enter the castle. Run forward and yet another barrier is formed around yous. Defeat the regular army of bokoblins that come charging at you. Then defeat several lizalfos that also come charging at you lot. After they are defeated, the torches in the room will light up and a treasure chest appears at a college ledge.


Walk to the northeast area and there are a few steps that Link can climb. Practise so and then use the clawshot to grab onto the chandelier. Driblet down and open up the treasure chest to get the Compass. Use the double clawshots to grapple across several chandeliers to reach the northern balcony. Go through the door.


Walk forwards and you'll face up off with another darknut. Battle him just equally you've done before, using your sword techniques when applicative. Once defeated a treasure breast appears at the north end of the room. Stand up at the area just below the treasure chest. Look at the wall at the west finish of the room and yous'll encounter a lit torch. From this ledge, use the gale boomerang to put out the torch and the ledge will ascension. Open the treasure chest to get a purple rupee.


You tin can travel either east or due west from here, both of which lead to the same destination. The east path is easier as you volition only fight a few dynalfos and solve a simple puzzle. However, the west path will pb to a few bonus treasure chests. The next section volition lead down the west path, while section 22.6 volition follow the due east path. They will both meet up at the same expanse in the Hyrule Castle Tower section.
22.5 Hyrule Castle: Western Path
Defeat the two lizalfos that protect the door. Pull out the arrows and shoot down the ropes that hold the two paintings on the east wall. Striking the crystal switch that is behind the due north painting and the gate will open. (Hitting the 2nd crystal switch causes yellow chus to fall towards y'all.) Go through the door to the south.


Run downwardly the hall and you'll notice ii more than darknuts. Defeat them both using like methods. Equip the magic armor if y'all are having trouble. Once both enemies have been defeated two doors will open up up. Go through the one at the northeast part of the room.


Plough to your right and in that location is a treasure chest here containing a purple rupee. Now step on the switch that is between two torches and another treasure chest appears at the balustrade to the northwest. The treasure chest contains a silver rupee, which is worth 200 rupees, just you accept to get through some problem to become it. Y'all must driblet downwards to the flooring beneath and so target the low hanging chandelier. Then target the chandelier that hangs above the treasure chest. Yous cannot get back to the southwest ledge from here and so you lot'll have to go back through the passage to the north.


If yous decide to become the treasure chest, navigate your mode all the fashion dorsum to the room with the darknuts so go trough the door at the southwest part of the room to get dorsum out in the courtyard.
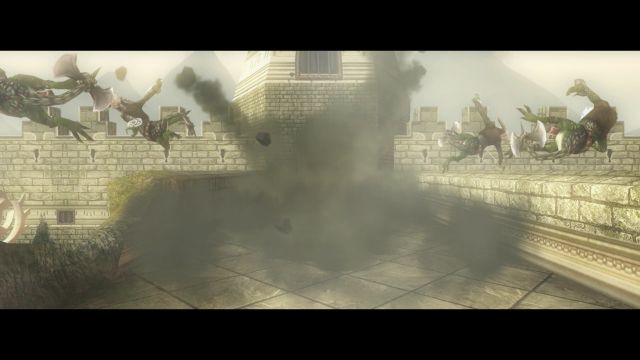
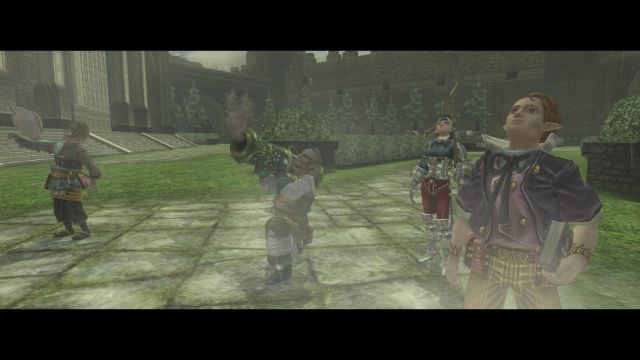
Run forwards and yous'll run across a gate with a treasure chest behind it. Several enemies come running out and multiple bulblin archers appear. Before Link tin can even battle them, they are all seemingly defeated. The resistance group that had gathered in Telma's bar have come to assistance Link. With the enemies out of the way, run forward and open up the treasure breast to get the Large Primal.


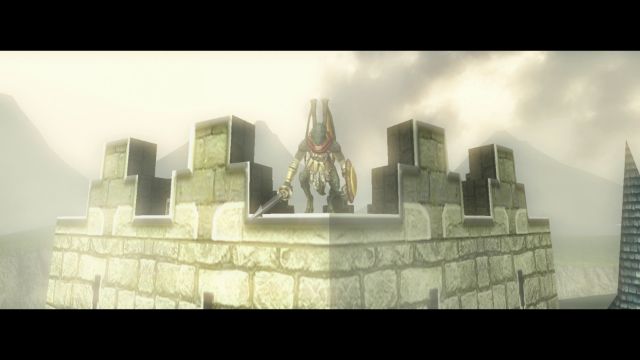
Run back towards the door simply now head upwardly the path to get to the front side of Hyrule Castle. You'll notice there is a locked door nearby. Go along running to the other terminate and you'll run across a 2d treasure chest on your map. Run towards information technology and a bulwark blocks your path. Defeat the aeralfos that appears so run to the treasure chest. Open up it up to go a pocket-size primal. Render to the area where we past over the entrance to Hyrule Castle. There is a locked door here. Use the modest primal to get back into Hyrule Castle.


22.6 Hyrule Castle: East Path
If y'all decided to accept the eastern path, follow the steps into the next room. This room is a little dark and contains four torches near the opposite side door. Look to the western wall between two of the torches and you volition discover a painting. Shoot it downwards with an arrow and information technology will reveal a pattern to light the torches.
Complete the puzzle equally it shows in this lodge: southwest, northeast, northwest, southeast. Upon lighting the first torch several keese will appear, but you tin avoid them if they aren't beingness problematic. Upon completion the door to the internet room will open up; enter it.


You will run into two dynalfos in this room; defeat them as you have washed in the past. I specially enjoy using the bomb arrows upon inbound to defeat them hands. Enter the door to the northeast and you will detect a switch. Step onto it and information technology will lower a nearby chandelier, allowing for easier access back incase y'all go out.
Head back into the previous room and enter the door on the reverse side to achieve the courtyard one time again. Run forward towards the breast and you will be locked inside another arena. An Aeralfos will fly down and engage in a battle. Defeat it with the Clawshot every bit before, then open the chest and you will receive another minor fundamental.
Run back towards the door merely at present head up the path to the left to attain the front side of Hyrule Castle. Y'all'll find at that place is a locked door nearby. Keep running to the other end and you'll run across a second treasure chest on your map. Several enemies come up running out and multiple bulblin archers appear. Before Link can even battle them, they are all seemingly defeated. The resistance grouping that had gathered in Telma'southward bar have come to help Link. With the enemies out of the mode, run frontwards and open the treasure chest to get the Big Key.
Return to the area where we passed over the entrance to Hyrule Castle and use the small key to enter the locked door here.
22.7 Hyrule Castle Tower
Transform into wolf Link and defeat all the ghoul rats that attach themselves to your torso. You'll notice a bunch of ghost soldiers standing effectually, which are quite helpful. Many of the blocks in this room volition cave in in one case you stand on them. Even so, the soldiers will betoken in the management where the blocks are safe. Simply look to encounter in which direction the soldiers are pointing and follow straight ahead. Get straight from the first soldier until you reach the second soldier. Repeat this process for all the ghost soldiers in the room until you attain the east side of the room.


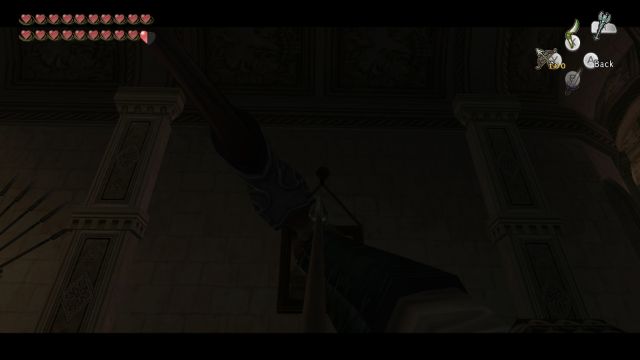
Now walk upward the narrow broken staircase. At the top, another barrier will be put around Link and ii lizalfos wait for you lot. Defeat them and continue up some more than broken stairs. You'll demand to use the small gratings that cover the lilliputian torches. Hook over from torch to torch to get past this department of cleaved stairs. At the top of the steps another barrier appears. Defeat ii more lizalfos that wait for yous.


Keep climbing the steps and there volition be spinners on the railing. You volition need to use your spinner to bound from rail to rail, while fugitive the 3 spikes that also use the rail. At the top of the steps, walk forrad and yet another barrier appears. Defeat the darknut that is hither and the barrier will disappear.


Earlier going through the boss door, enter the side door if you got the small fundamental from the graveyard. Within, collect goodies ranging from 5 rupees to 200 rupees, and diverse items including bombs, arrows. One of the chests will as well comprise the Happy Zelda Miiverse Stamp. If this is the 49th stamp you've collected, you will also automatically receive the Twili Midna stamp and complete your postage collection. When you're done, open up the boss door and head inside.


22.eight The Final Showdown
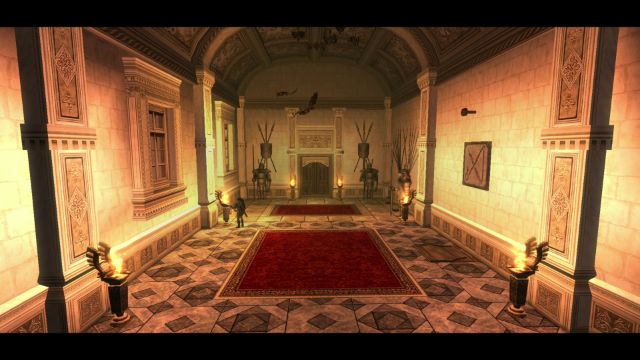
Yous'll at present exist back outside near the top of Hyrule Castle. Climb the steps of the castle and enter over a blue carpet. This is the same surface area from the scene that we saw earlier in the game, where Zant had taken command of Hyrule Castle. Link and Midna encounter Princess Zelda obviously asleep or expressionless.

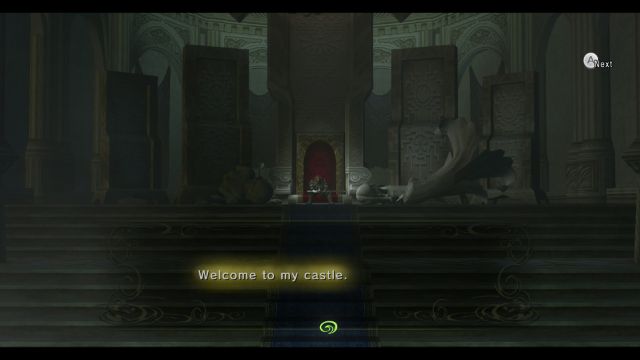


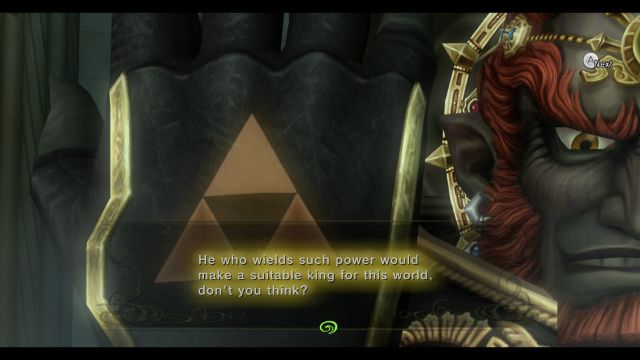
We so see Ganondorf, sitting on the chair, welcoming Link to his castle. A rather interesting cutting-scene takes identify betwixt Ganondorf and Midna, in which Ganondorf insults the Twili race, maxim that they lack true power. As seen in the cutscene after Arbiter's Grounds, Ganondorf over again shows his Triforce of Power; signifying he has true ability.


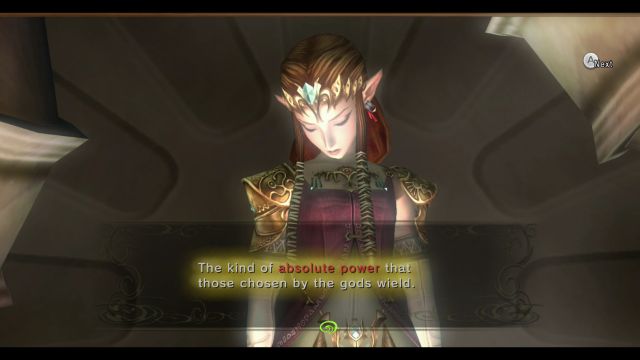
Ganondorf will so place his power into Princess Zelda, despite Midna's attempts to preclude it. Princess Zelda will then awaken, sending Midna flying out to the door from shock and preventing her from participating in this fight. The boxing will then brainstorm with Ganondorf's Puppet ZELDA.

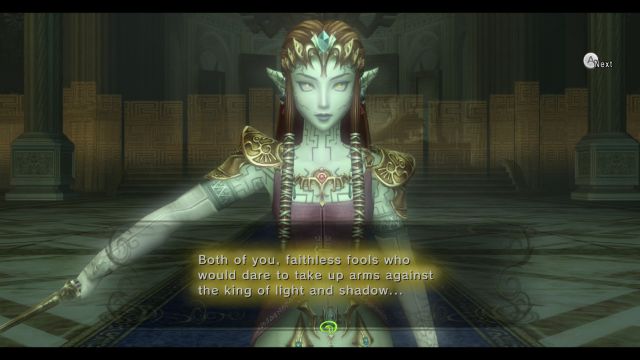
Ganondorf is the last boss of Twilight Princess. He was the one behind Zant, and the one who has caused trouble throughout Hyrule. He comes in four different forms, Boob Zelda, Dark Fauna Ganon, Horseback, and Night Lord Ganondorf. Each of these forms volition test you lot on the skills you've learned throughout the game, and we will help yous employ them to the best below.
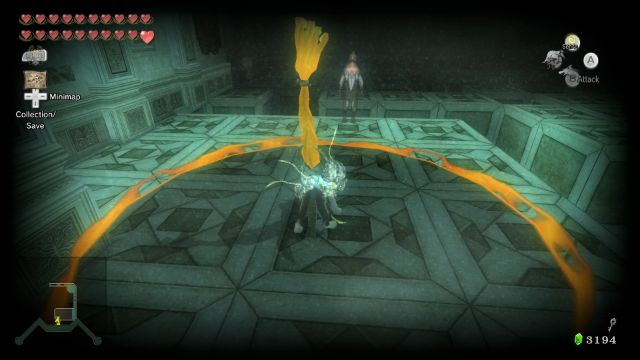
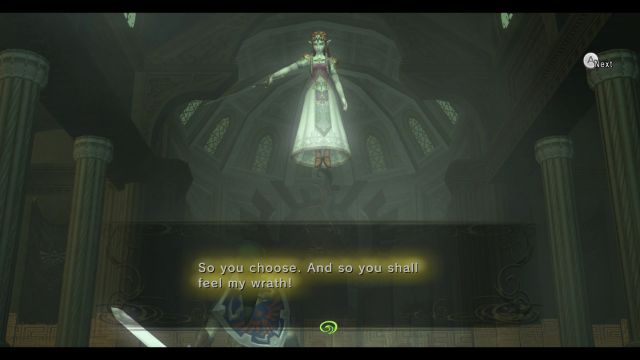
Boob Zelda will bladder around there air and unleash three attacks at Link. The starting time is a simple sword nuance towards Link, which tin be easily blocked with the shield. When she hits you though, you will lose your ability to Z-target her for a second. Puppet Zelda volition also summon a giant golden triangle on the basis. If Link is standing in the area that is afflicted, he volition lose wellness.


Boob Zelda's almost common attack is when she volition hold her sword in the air and summon a ball of light. She will and then ship this brawl towards Link. Slash at the ball and it volition moves back towards Princess Zelda. She volition deflect it back towards you. Go on deflecting the ball back and forth and it volition eventually hit Princess Zelda. Exist careful every bit the ball moves faster and faster each time information technology is hit dorsum towards Link. Repeat this same process until you've hitting Puppet Zelda three times with the golden ball.


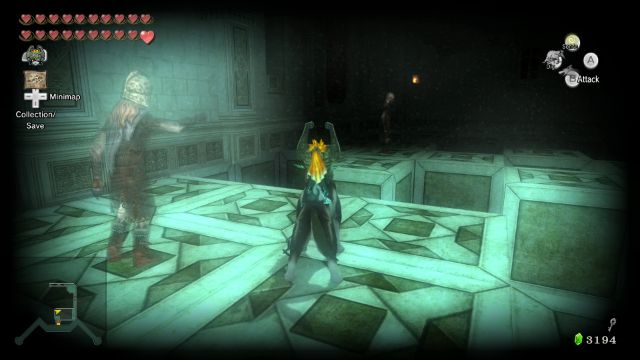
Midna volition so use the power of the three fused shadows to break the curse on Princess Zelda, reviving her to her original class. Ganondorf will then use his power to transform into the Dark Beast GANON.

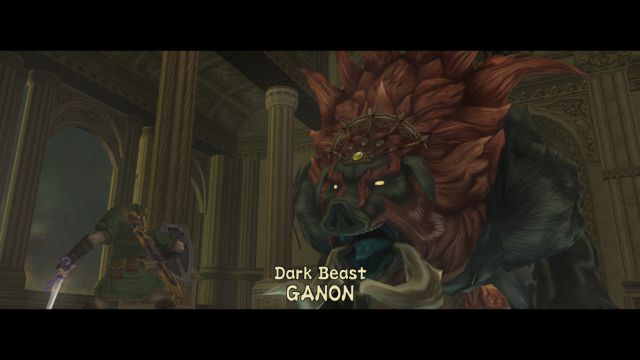
The weak spot of Ganon is the shining silvery scar that is on Ganon's belly. The battle will begin with Ganon running around the room, knocking down all the pillars that are in the way. Ganon will and so disappear into a portal. Several red portals appear, merely 1 of them somewhen turns purple and Ganon will come running out of it. Once Ganon enters a portal, go on your back against the nearest wall and pull out the bow and arrow. When portals start appearing close to each other and at that place is a pulsing audio, Ganon is coming out. Once he appears, smash him with an arrow right in the forehead. He volition exist stunned so run on over and slash away at his scarred silver abdomen.


When Ganon is hit he will sometimes come out of a portal from higher up Link and country directly on you lot. Just quickly try to roll around to avoid him landing on you. Just repeat this process a few times and Ganon volition catch on. Now, Ganon volition spring into the air when yous attempt to striking him with an arrow. Switch to Wolf course, and look for him to come out of a portal. When he comes shut, printing A, and a fight of power will offset with Ganon. Throw him over to a side and from here y'all tin can attack his weak spot until he's finally defeated.


Midna will then fully revive Princess Zelda. After some chit chat between Princess Zelda and Midna, Ganon volition awaken with a fire vision of his head. Midna will use the ability of the fused shadows and warp Princess Zelda and Link out of the Castle. Midna then battles with Ganon. Adjacent we see, Princess Zelda and Link are somewhere in Hyrule Field and Ganondorf appears, conveying the fused shadow that Midna wore on her head. Ganondorf summons an army and gallops towards Link and Zelda on his horse.


Princess Zelda and so summons the 4 Spirits of Light. After a brusque scene, Link and Zelda are both on top of Epona. Princess Zelda will try to slow Ganondorf down with her Calorie-free Arrows.


The battle begins with Ganondorf and it has a very like feel to the first battle with Male monarch Bulblin. Ride around the field with Epona and try to stick as shut to Ganondorf every bit possible. Z-target Ganondorf when you are shut enough and Princess Zelda will shoot a low-cal arrow. Once she hits Ganondorf he will be stunned. Chop-chop go over to where he is and slash away with the chief sword.


Merely go along following afterwards Ganondorf, Z-targeting him so Zelda can stun him with a Light Pointer. After several hits, Ganondorf volition autumn off his equus caballus onto the basis below. He volition then get up and begin mocking Link with a laugh. He calls it an impressive looking sword, but nothing more. Ganondorf then pulls out his ain blade and a barrier surrounds Link and Ganondorf. The terminal boxing then begins with the Night Lord GANONDORF.


The battle is a archetype sword fight. Don't bother trying to use the shield attack as it will only injure you. The back slice is the best method for attack Ganondorf as he simply doesn't block information technology very well. Once you connect with a back slice, slash repeatedly at Ganondorf until he blocks one of your attacks.


Ganondorf will do a diversity of sword attacks, all of which tin can be easily avoided or blocked. One time of his attacks is a massive sword slash at Link. The A button will popular up with 'Chance' written on it. Printing A and your swords volition collide with each other. Press A repeatedly and Ganondorf will be pushed away and become vulnerable for a few seconds. Slash away with your sword a few times until he blocks your attack.


Just keep using the back slice to hit him. Dorsum piece to your correct, because Ganondorf is right handed and that will proceed you further away from his sword. Another very awkward merely effective strategy involves the angling rod. Toss the fishing rod and Ganondorf will await at information technology confused for a 2nd. Then quickly slash at him with your sword and yous should be able to hit him from the front. Once he has been knocked downwardly, target him and terminate him with a terminal blow.


With Ganondorf defeated, savour the lengthy cut-scene. Congratulations!


- Chapter 1 – Ordon Village
- Affiliate two – The Twilight
- Chapter iii – Faron Woods: Twilight
- Chapter 4 – Woods Temple
- Chapter 5 – Kakariko Village: Twilight
- Chapter 6 – Expiry Mount
- Affiliate 7 – Goron Mines
- Chapter 8 – Lanayru Province: Twilight
- Chapter ix – Lake Hylia: Sidequests
- Chapter 10 – Lakebed Temple
- Chapter 11 – The Master Sword
- Chapter 12 – Gerudo Desert
- Affiliate thirteen – Arbiter'southward Grounds
- Affiliate fourteen – Scaling Snowpeak
- Chapter fifteen – Snowpeak Ruins
- Chapter sixteen – Sacred Grove: Round Two
- Affiliate 17 – Temple of Time
- Affiliate 18 – In Search of the Heaven
- Affiliate nineteen – Urban center in the Heaven
- Chapter twenty – Palace of Twilight
- Chapter 21 – Cavern of Ordeals
- Chapter 22 – Hyrule Castle
- 22.one – The West Courtyard
- 22.2 – The E Courtyard; Dungeon Map
- 22.3 – The Graveyard
- 22.iv – Hyrule Castle: Entrance
- 22.5 – Hyrule Castle: West Path
- 22.six – Hyrule Castle: East Path
- 22.seven – Hyrule Castle Belfry
- 22.8 – The Final Showdown

Legend Of Zelda Skyward Sword Hd Walkthrough,
Source: https://www.zeldadungeon.net/twilight-princess-walkthrough/hyrule-castle/
Posted by: hertzlermoratte.blogspot.com
0 Response to "Legend Of Zelda Skyward Sword Hd Walkthrough"
Post a Comment